
You may have noticed that despite a global pandemic, things around your apartment still break, wear out, and stop working. With the stress inherent in bringing another person into your home, you might think twice about calling a plumber or contractor like me — and most building supers are either self-isolated or reluctant to enter apartments unless there’s a true emergency. Until normalcy reigns once again, you have only one viable option: Fix the problems yourself. (That, or somehow live with a non-flushing toilet.) Here are six common home repairs that require nothing more than basic tools and simple techniques that anyone can handle.
The tub (or sink) won’t drain
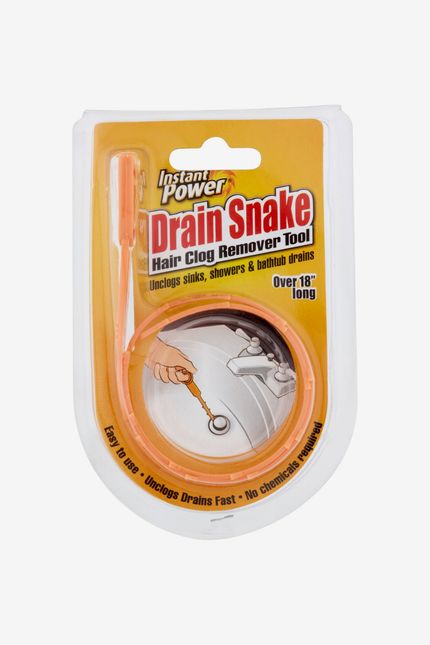
A small plunger is fine for clearing minor clogs: Fill the sink or tub with a couple inches of water (if the drain is clogged, that’s probably already done for you). After making sure the plunger completely covers the drain, pump the handle up and down to force water into the drain. If that doesn’t work, in the sink you’ll need to remove the stopper and in the tub you’ll need to remove the drain cover, which is often held in place by one or two screws. Clog removers are simple-to-use tools that can remove a lot of the hair and other gunk that build up in drain pipes. Just insert the plastic piece into the drain and twist to allow the barbs to grab onto any debris. Hold your breath (because this stuff stinks), pull out the blockage, and throw it away.

The toilet is clogged
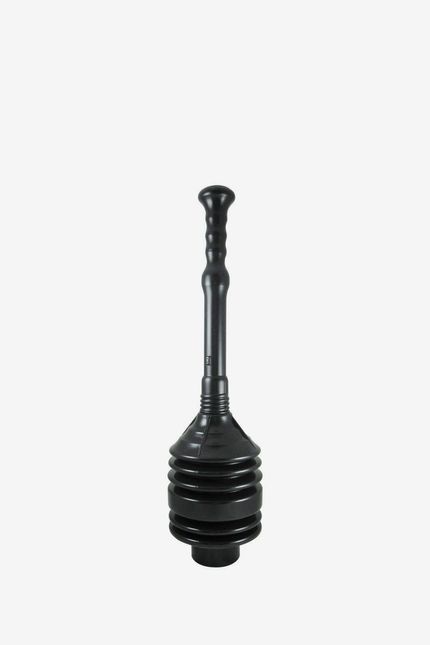
Most clogs can be cleared with a plunger, but not the small one you used on your sink. I prefer accordion-style bellows plungers, which give you more air with each pump — and thus more clog-blasting force. Press the plunger tightly over the toilet bowl’s drain hole, then pump the handle up and down several times before removing the plunger. Repeat, if necessary, until the toilet flushes normally. (If you don’t have time to wait for a plunger to arrive in the mail, there’s an old plumber’s trick that often works: Fill a bucket with water. Hold it about six feet off the ground, and dump the water into the bowl. Gravity often provides enough force to remove the clog.)


The water pressure in your shower is weak
This is typically caused by mineral deposits clogging the small holes in your shower head. The best option is to remove the shower head and submerge it in a small tub of vinegar. If unscrewing and replacing the shower head is more DIY than you feel you’re ready for, try this: Partially fill a one-gallon food-storage bag with white vinegar, slip it over the shower head, and secure it with rubber bands or twist ties. Be sure the entire shower head is submerged in vinegar. Let the shower head soak for at least 24 hours, remove the bag, then turn the water on to blast out the dissolved minerals.

The toilet won’t stop running
Chances are the round rubber flapper that seals the large hole at the bottom of the tank is not making a watertight seal. Lift off the lid from the toilet tank and look inside. If there’s a chain connected to the flapper valve, make sure it’s not too short, kinked or hung up on something. If it is, remove the kink or move the chain down a link or two on the little hook on the handle, providing enough slack in the chain to let the flapper fall down over the hole. If the chain doesn’t seem to be the issue, try replacing the flapper. If that doesn’t work, you likely need to replace the entire flush valve mechanism and might be better off waiting for a plumber.


A squeaky door is driving you crazy
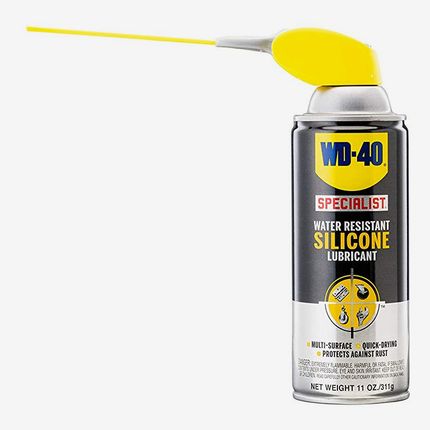
Although silicone spray is only a temporary fix, it’s simple to use and it should last for a couple of months at the very least. Find the metal hinges that run vertically up the door frame. Most interior doors have three. Spray each hinge, then open and close the door to work the silicone in. Repeat until the squeak stops.
You got stressed and punched a hole in the wall
These are difficult times. We get it. Hole-repair kits like this one contain an adhesive-backed patch that sticks on the wall over the hole. Spread the included joint compound, which has the consistency of thick and sticky icing, over the mesh patch. Let it dry, then sand the surface smooth with the sandpaper that also comes in the kit. After that, all you need is paint.


The Strategist is designed to surface the most useful, expert recommendations for things to buy across the vast e-commerce landscape. Some of our latest conquests include the best acne treatments, rolling luggage, pillows for side sleepers, natural anxiety remedies, and bath towels. We update links when possible, but note that deals can expire and all prices are subject to change.


