Hi.
In this video we'll be using photography to give a sense of bodiesmoving during activities and sports. You'll need a digital cameraor something with a camera like a phone or a music player a computer something to get the photographs onto the computer like a card reader. We'll also be using some thick card some scissors a pencil and a ruler to make a viewfinder which is where we'll begin.
Photography is all about framing and composition and our viewfinder will allow us to plan that without actually taking any photographs. My rectangle is 18cm by 12cm but yours can be any size you want as long as the long side is 1.5 times the length of the short side.
Here we are - my practice camera. Now let's take a look at some shots. You'll need a friend to pose for you. My friend Marie has kindly agreed to come and help me out. Think about how far away you want to be from them. Do you want to see their whole body? Or just part of their body? Remember we're trying to capturemovement so which is more exciting - portrait… or landscape? Some angles are more dynamic. Theygive more of a sense of movement. As well as trying different angles you can try different levels like high up… or down low. Try looking out for lines that are diagonal or objects that are unbalanced or asymmetrical. This means that the subject of your photograph is off-centre. This is all part of framingyour shot. Of course you always have a viewfinder with you. Your hands are your ownpersonal viewfinder. And remember get creativewith your angle.
OK let's look at some examples. Remember we're not trying to take a still portrait of somebody we're trying to capture the idea of movement. You might not need a friend to pose for you - look for real sports and activities going on in yourneighbourhood or your home. But whatever you shoot remember distance and framing.
Now with my digital camera I'm going to try panning sweeping it across to keep up with the moving figure. That way everything isblurred except the person. It really gives thatfeeling of movement. If you keep the camera still and thensomebody walks through the shot you get this effect. You might need to experiment a little bit with this one.
Once you've taken some pictures you can put them on the computer to take a look at them. Most digital cameras use a memory card which you can take out ofthe camera and then put into a card reader or sometimes plug straightinto the computer. If you use something like a phone you could e-mail the photographs straight to your computer as long as you have internet access and an e-mail account. Most computers will let youopen your photographs straight from your e-mail or a reader. Here's one of the shots that we've just taken. You can use software to crop your photos which will change the framing and composition after you've taken the picture. Remember it's better to correctlyframe your photograph when you're taking it rather thancropping it on the computer. Most cameras have zoom function and it's an extremely effective way to change the framing of your shot.
Like this.
There are all sorts of other things you can do to your images after you've taken them. Have a go at changing the colour brightness and tone for different effects. You can flip and rotateyour images too. Why not try experimenting with blackand white as well as colour to give a different look and feel to the shots you've taken? You can also create an album or printout your favourites and there are lots of things you can try as a class.
Once your photographs are all loaded onto the computer you can have a go at putting your different images together to create a montage.
Here I've usedthe same image repeatedly to create a really nice effect. The famous artist Andy Warhol used this technique with everyday objects and portraits. Why not try a composite image? Lots of close-up shots that fill their frames put together into a bigger picture. It looks a little bit like a cubist painting by Picasso or Braque.
Video summary
Artist Emma Majury gives a simple lesson in beginner's digital photography, showing how to use distance and framing to improve photos, and how to make and use a card viewfinder to help with composition.
She shows how to frame and capture a moving subject in a photograph, noting the difference between photos taken with a moving or static camera.
She suggests ways of looking for balance and composition in a shot before transferring images to a computer for further manipulation or adjustment.
She suggests some interesting projects suitable for individual pupils or the whole class, including art history references to Warhol, Picasso, Braque and the Cubist movement.
This is from the series: Schools A&D clips
Teacher Notes
This could be used to help create photo montages for class display.
These could be themed from a class visit, another subject or topic area or in-school project.
This clip is suitable for teaching Art and Design at KS1 and KS2 in England, Foundation and KS2 in Wales, Foundation KS1 and KS2 in Northern Ireland and Early and 1st Level, 2nd Level in Scotland.
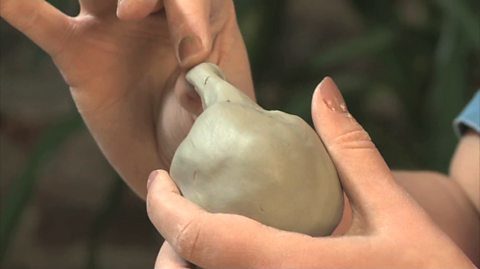
Making sculptures from dry materials and clay. video
A demonstration of how to shape and make dry media and clay sculptures.
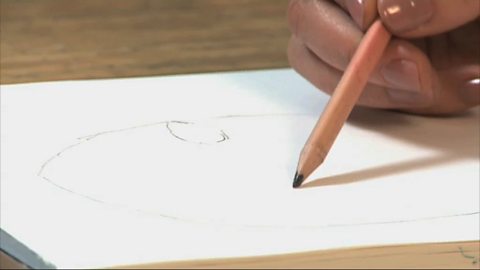
How to draw a lifelike self-portrait or portrait. video
Draw a realistic portrait using proportion, light and shade and balance techniques.
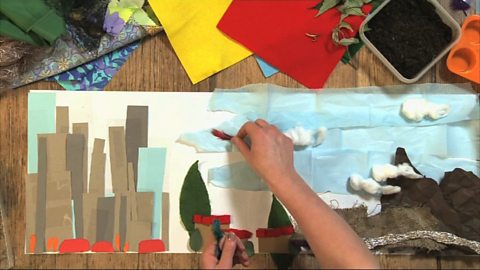
Creating a collage landscape. video
How to use a variety of textured materials to create a landscape collage.
Printmaking with different materials. video
Introduction to simple printing techniques using widely available materials.
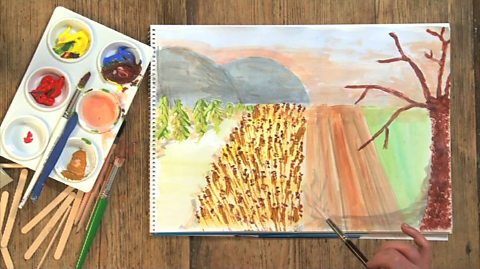
Using different painting techniques for effect. video
Step-by-step guide to painting methods including landscape and abstract images.