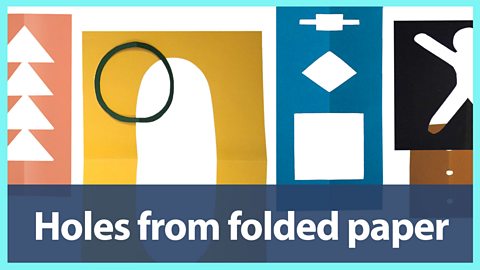
Learn how to cut strip fringes and tabs for your artwork
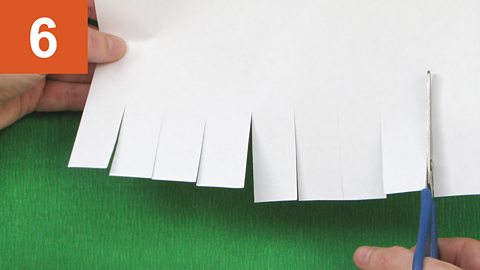
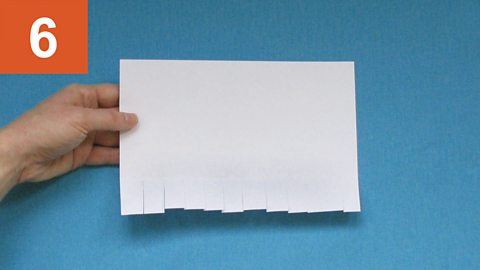
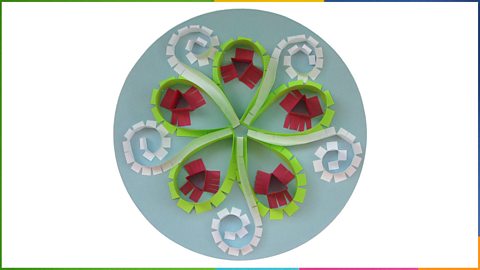
Strip fringes are the simplest kind of fringe because you just cut in straight lines.
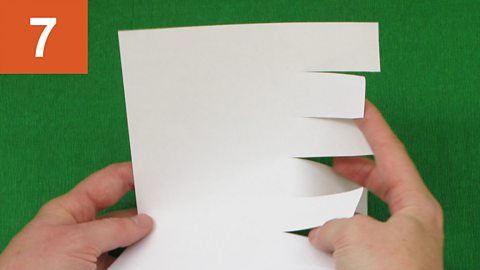
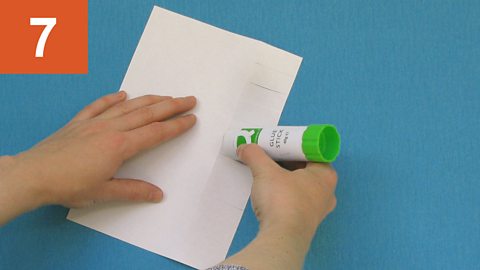
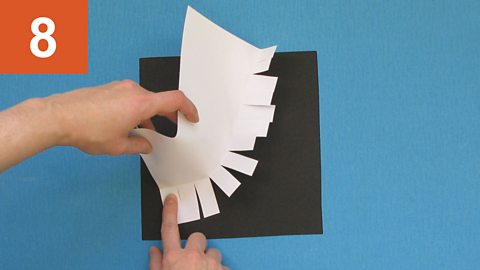
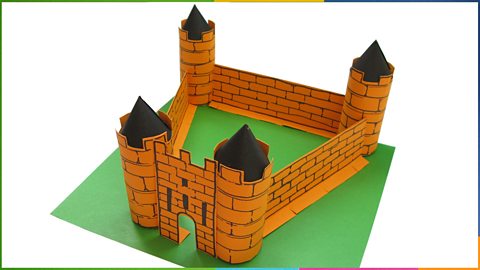
Folded strips can be used as tabs to build 3D forms.


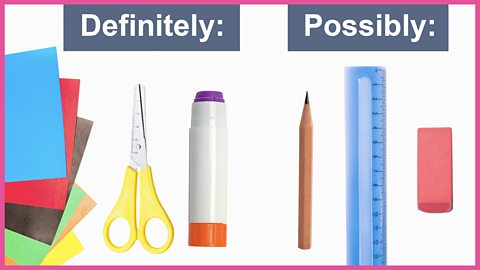
- Paper or card
- Scissors
- Glue stick *
*(sticky tape and pva glue can also work - practise on a scrap piece of paper first)
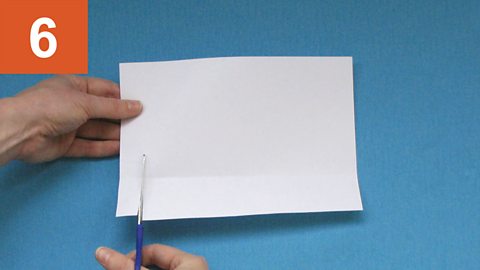
If you want to create a very tidy fringe you can draw cut lines to follow when cutting. For this you will also need a pencil, ruler and rubber.

For a quick overview, check out the video: Make your own paper fringes
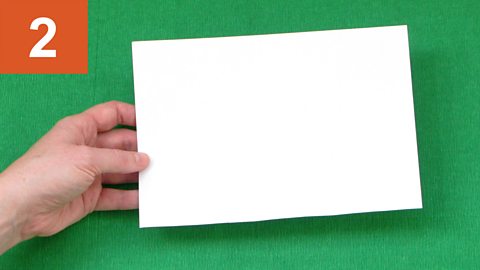
To work at your own pace, follow the slideshow instructions below:
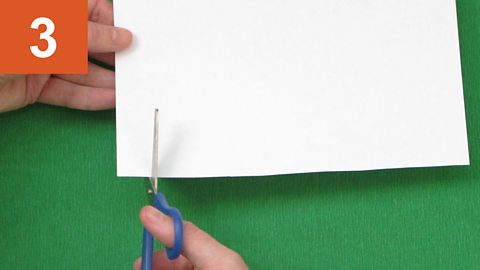
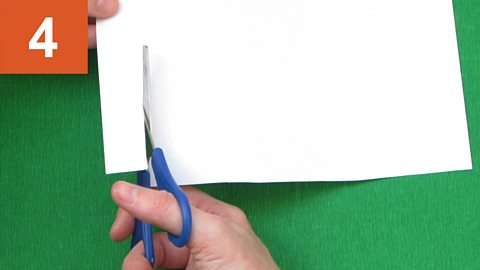
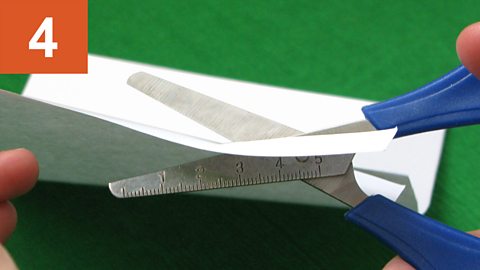
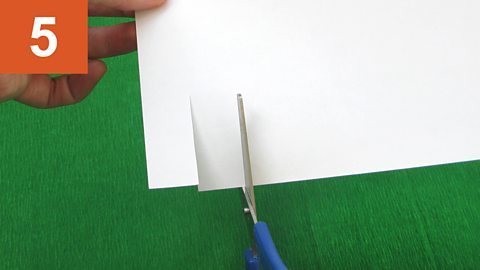
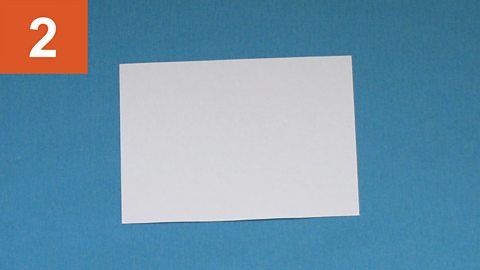
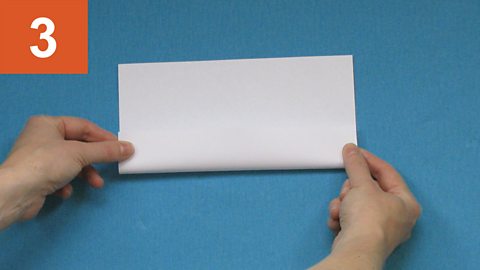
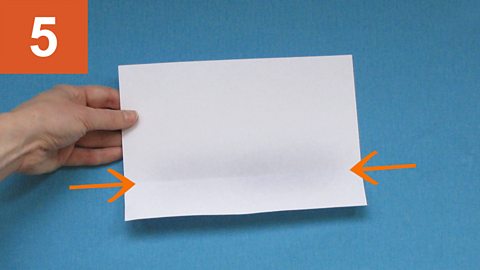
Strips
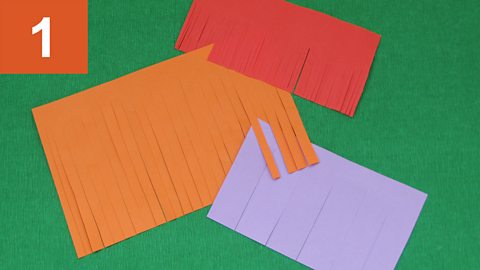
Image caption, Decide how long and wide you want your strips to be
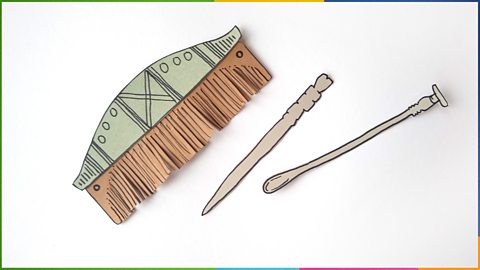
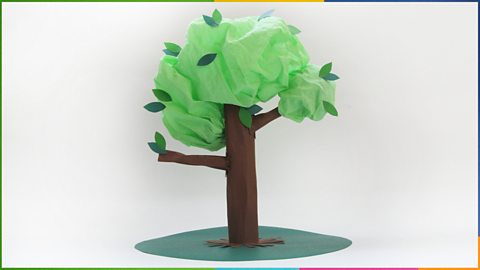
For example, you might cut long, thin strips for hair but short, chunky strips for teeth.

1 of 9
Examples

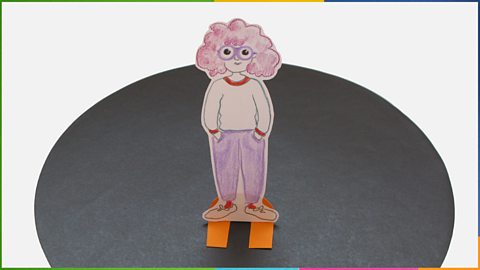
Tabs
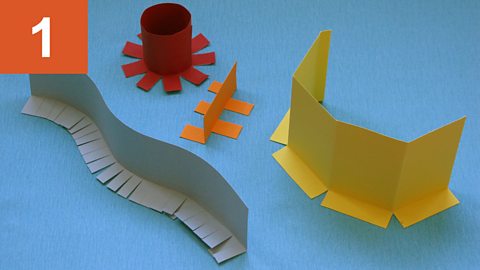
Image caption, Decide how long and wide you want your tabs to be
What shape are you building? If it is curvy use plenty of thin tabs. If it has sharp sides one tab for every side should be enough.

1 of 10
Examples
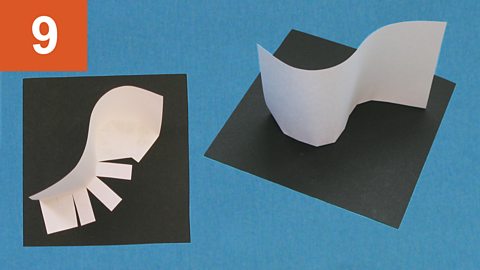
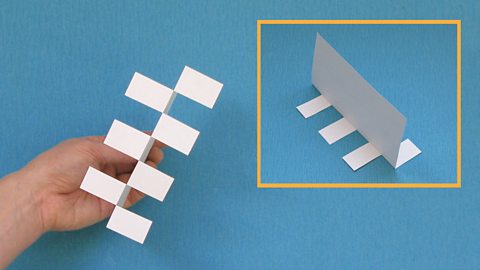
Tabs for extra stability and movement
Fold your tabs in opposite directions to create a very stable base for your 3D artwork.
This type of tab won't normally need glue to stay upright so it is handy if you want to be able to move your artwork about.
Learning recap

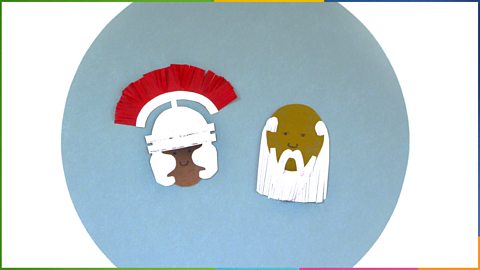
You can change the width between cuts to create different looks.
You can also fold strips over to make tabs. Stick the tabs down to build sturdy 3D forms that keep their shape.
Further learning

More on Design activity
Find out more by working through a topic
- count3 of 11
- count4 of 11

- count5 of 11
- count6 of 11