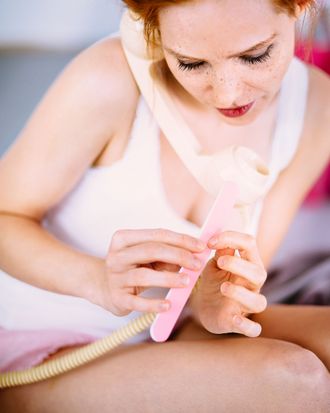
With salons closed indefinitely due to the spread of the coronavirus, bangs are getting longer, roots are reverting back to their original factory settings, and acrylic nails applied or filled two to three weeks ago are growing out.
Anyone ASMR nail-tapping from home must face a new conundrum: nurse a grow-out situation until who knows when or attempt to completely remove the fake nails currently molded onto your natural ones.
“Acrylic nails are one of the more high-maintenance nail styles and really require a professional technician to help keep them in good shape and to remove them properly without damaging the natural nail,” says Bri Sherman, a nail technician at Bellacures. Unlike gel manicures, which can be removed with acetone-soaked cotton balls, acrylics are typically drilled off in a salon by someone who knows what they’re doing. Since that won’t be happening anytime soon, we asked Sherman to walk us through the process of how to safely remove acrylic nails at home if you just can’t take it anymore.
1. Consider Camouflaging
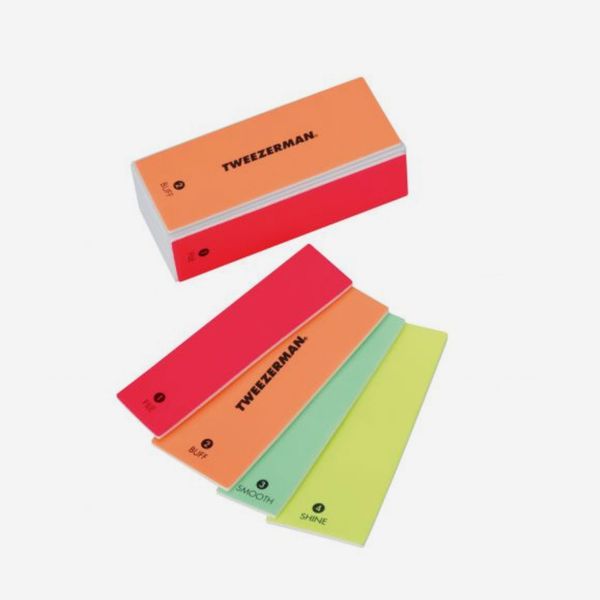
“If you have acrylic nails on, we definitely do not recommend trying to remove them yourself unless complete removal is absolutely necessary,” says Sherman. If it’s mainly the aesthetics of new nail growth bothering you, she suggests trying this first: remove the nail polish, then use a buffer to lightly buff the line where the acrylics and your nail meet. “This will flatten things out a bit and make the ‘grow-out zone’ less visible,” says Sherman. Repaint your nails to extend the lifespan of the look. If there’s breakage going on or you just feel you’re past the point of no return, proceed to the next step.
2. Lighten Up
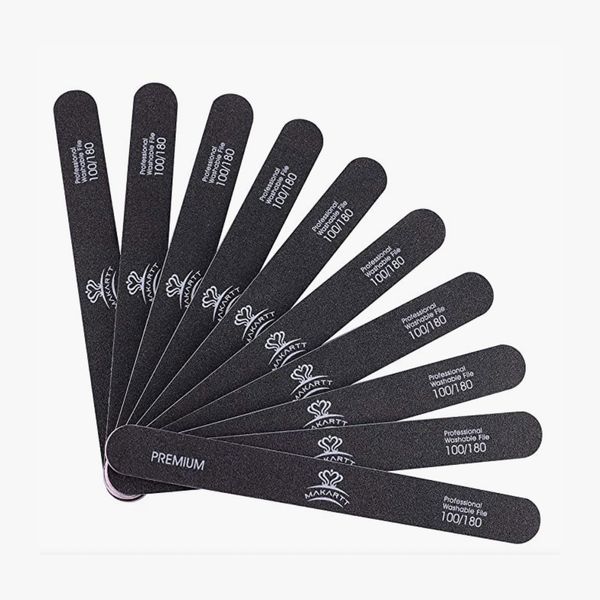
Don’t pull or rip anything off — you’ll risk taking layers of your natural nail along for the ride. Instead, Sherman suggests using a nail clipper to cut as much of the acrylic nail off as possible. Work across the nail in small chunks and make sure not to cut your natural nail. Then, use a coarse nail file to file down the tops of the nails to remove as much of the acrylic as you can. This will be annoying, but it will help cut down on the length of the future nostril-clearing acetone bath your fingers will soon be taking.
3. Lube Up
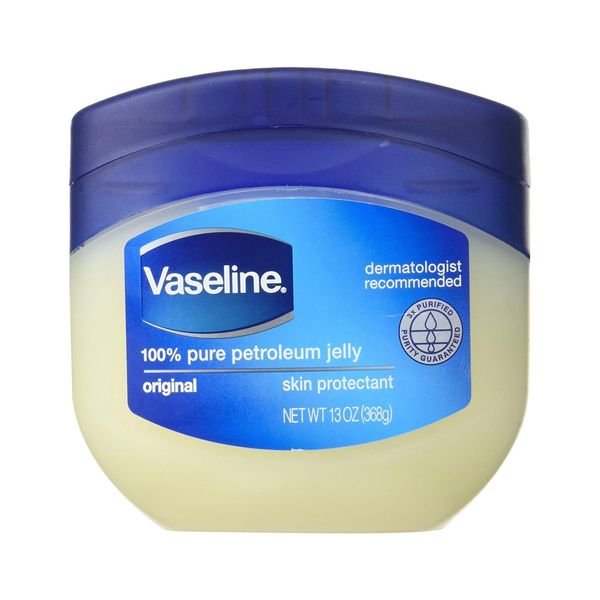
After filing and before plunging into said acetone bath, Sherman recommends applying everyone’s favorite petroleum jelly, Vaseline, on the area around your fingernails. This will protect your skin from drying out.
4. Sit and Soak
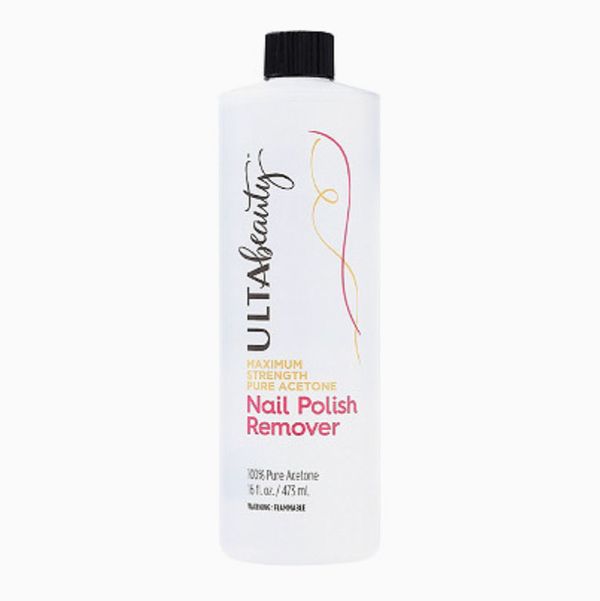
Next, pour 100 percent acetone into a bowl that’s deep enough to comfortably submerge the entire length of your nail at once. Find something you can watch without the needing to fast-forward and make sure you don’t have to pee. Then dip your fingers into the bowl of acetone and leave them there for 30 minutes. “The acetone will soften the acrylic, allowing you to gently remove any leftover material with a nail buff or file,” says Sherman. After you’re done soaking, grab either tool and gently buff or file until your natural nail emerges without any gunk on it.
5. Do Some Damage Control
The hard part is over, both literally and figuratively. Due to constant handwashing, your hands and nails are probably drier than they’ve ever been, acetone and acrylics aside, so consider giving your nails a nice, moisturizing vacation. “Now is a great opportunity to let your natural nails breathe since you won’t be leaving the house for weeks at a time,” says Sherman. She recommends keeping your nails polish-free and coating them with a strengthening nail protein instead. The formula above is her favorite for soft, thin, or peeling nails. She also recommends applying a cuticle oil daily to keep everything nourished going forward, and continue slathering on hand creams.
If you buy something through our links, New York may earn an affiliate commission.


