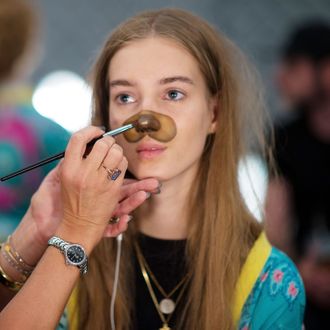
Your analog life can blend with your digital life this Halloween when you become a walking, breathing Snapchat puppy filter. Whether you consider it to be the ‘ho’ filter or not, it’s one of the easier costumes to throw together last-minute. The Cut worked with MAC Cosmetics senior artist Michelle Clark (the brand is the premier sponsor of the 43rd Annual Village Halloween Parade and this year’s theme is #MACSpaceSquad) and hairstylist Juli Akaneya, to learn how to puppify yourself (Bonus: puppy ears not required).
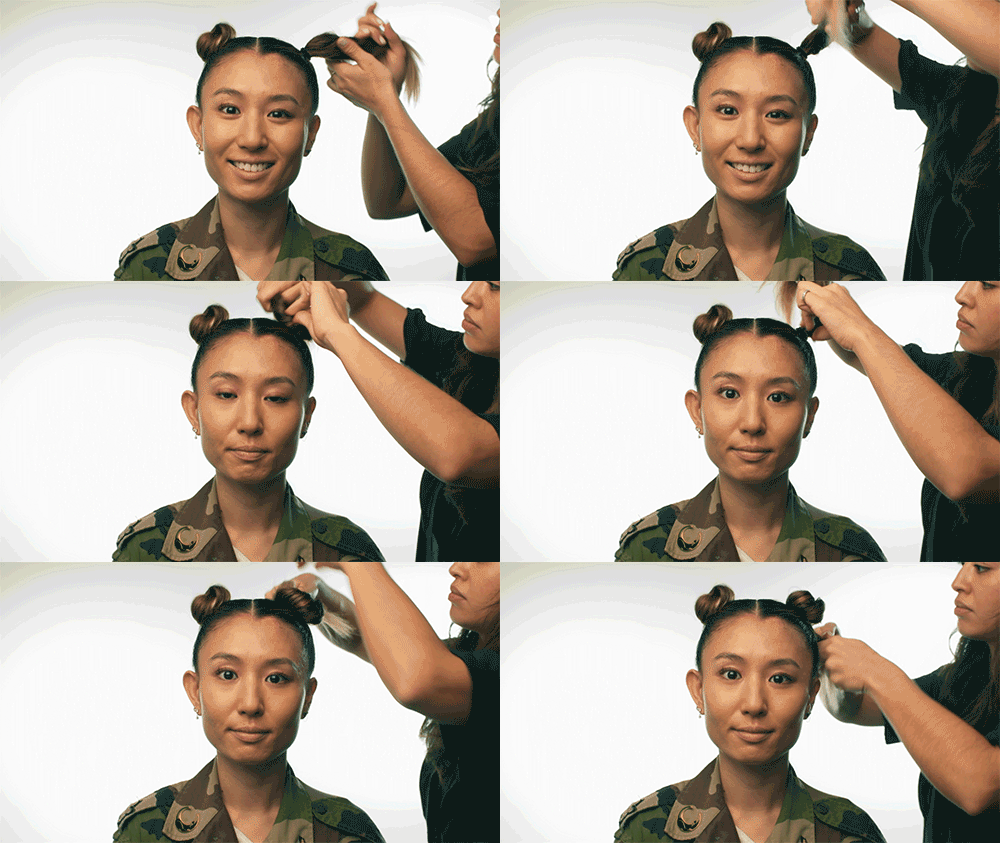
Step One.
Puppy ears are more difficult to find than you would expect (I know, I tried), but you can simulate them with hair buns. Akanaya split our model, Vivian Cheung’s hair into two, securing them into high ponytails with elastics. Wrap your hair around the elastic to create buns and pin or secure with an additional elastic.
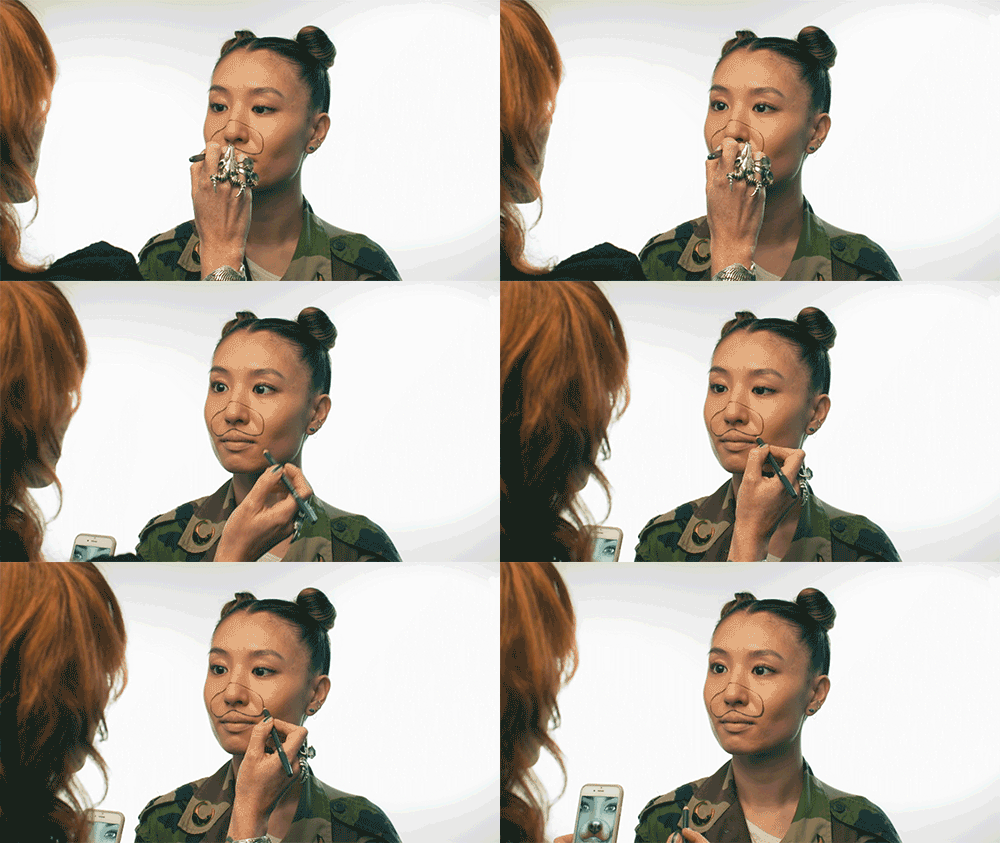
Step Two.
Take a picture of yourself in the puppy-dog filter and use it as a base. Begin by drawing the muzzle with a dark brown eyeliner pencil (Clark uses MAC Eye Pencil in Coffee) up over the nose and the cheeks (think of the shape as something like a wide upside-down heart with a rounded point). Clark went with brown rather than black eyeliner pencil, for a softer, universally flattering color. Don’t be afraid to draw a bigger “snout:” It actually makes your face look smaller in comparison.
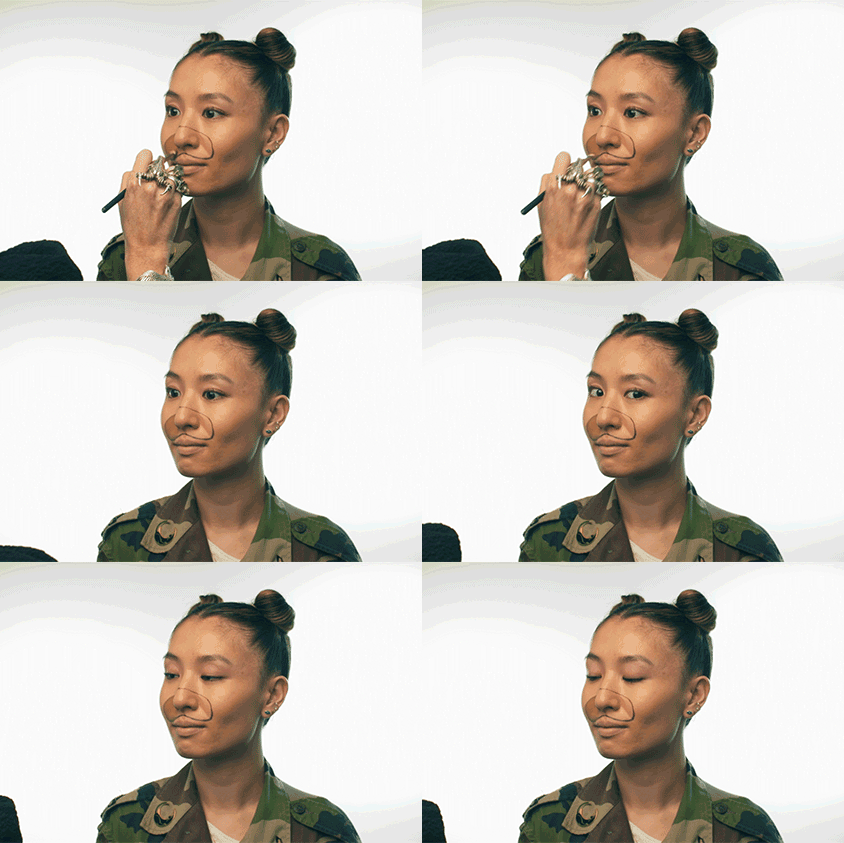
Step Three.
Fill the inside of the “snout” with a lighter brown eyebrow gel. Eyebrow gel is a great alternative to eyeshadow because it naturally has more grip and will adhere better to the skin without blending too much. It’s also easier to obtain than brown face paint. Clark used MAC Redhead Brow Fluidline Brow Gelcreme first as a base.
Step Four.
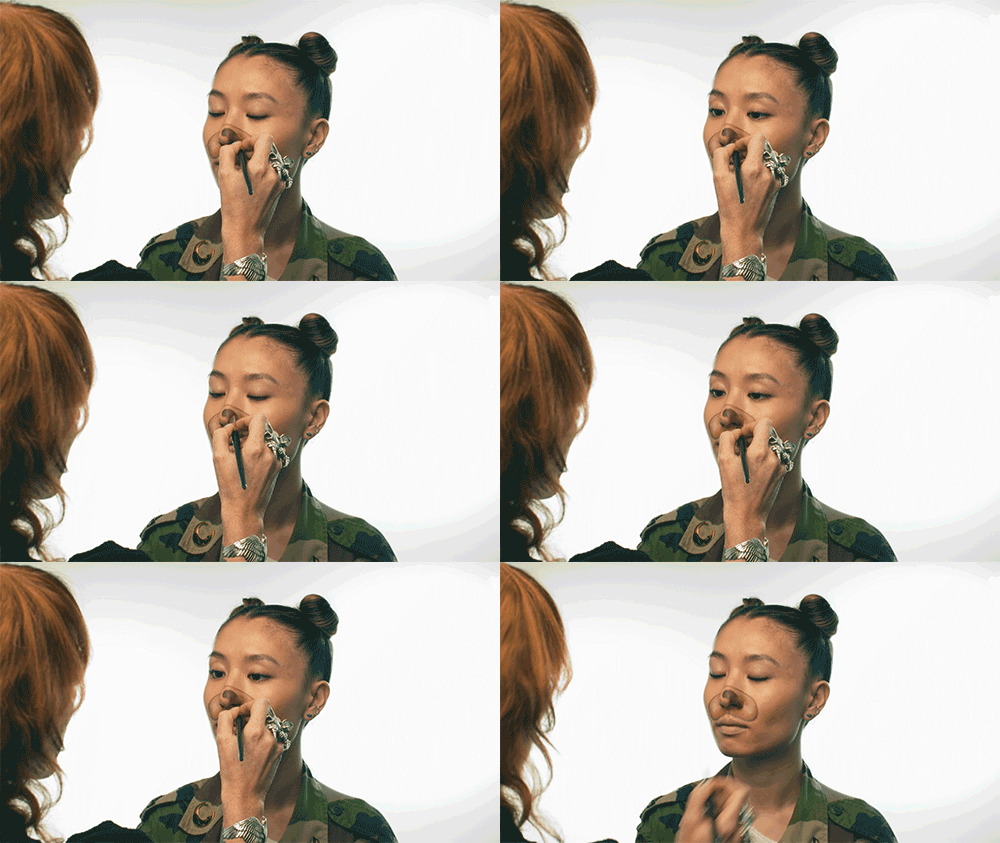
Use a darker brown color to draw on the nose (Clark uses MAC Brunette Brown Fluidline Brow Gelcreme). Cover the lower portion of your actual nose with the darker brown color, but leave some space between your original eyeliner outline so that some of the light brown color can still be seen.
Step Five.
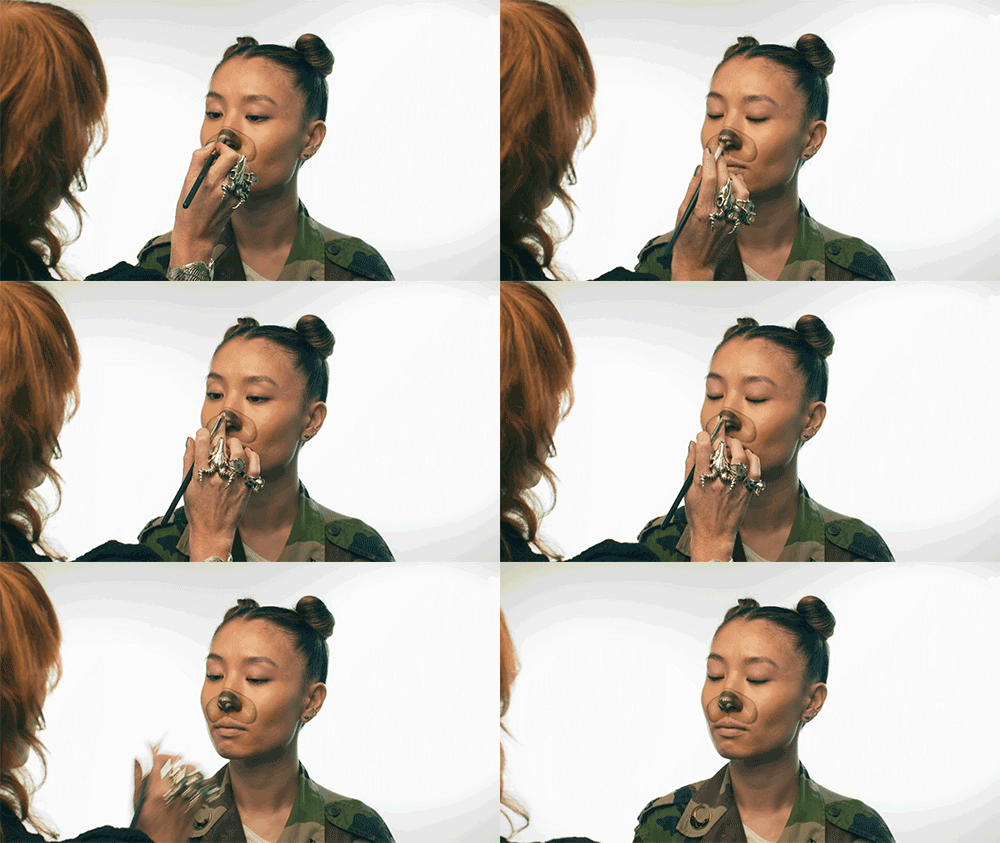
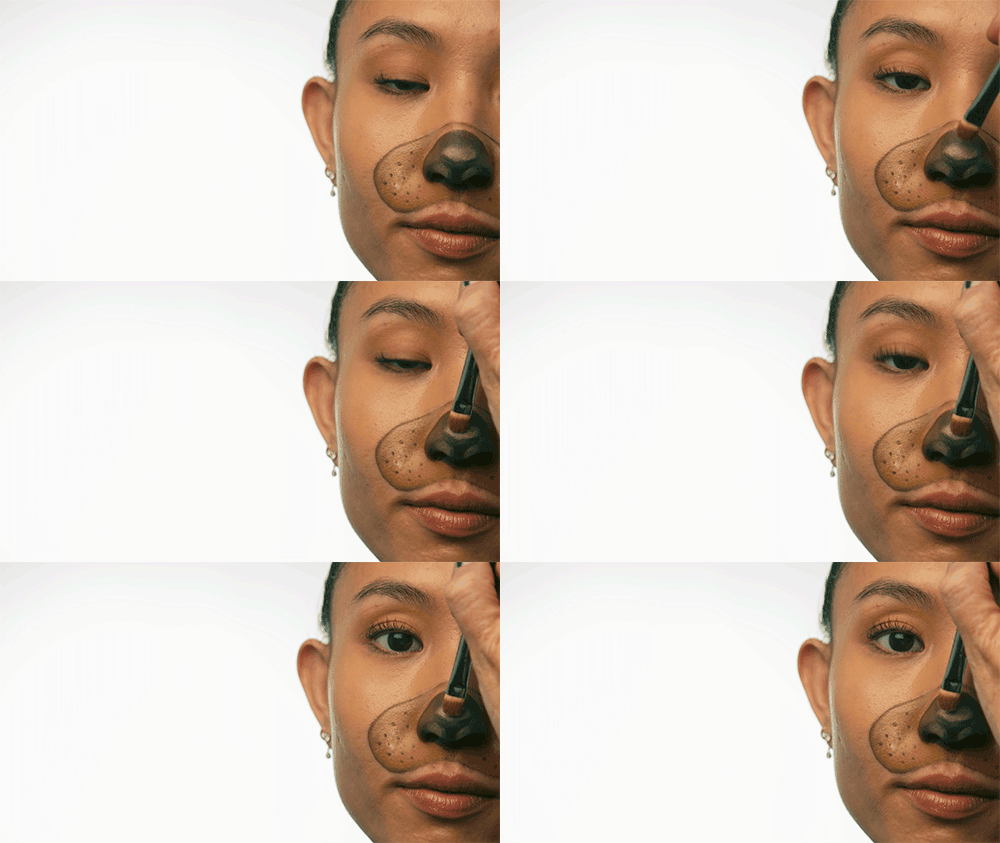
To draw on some white accents of the nose, Clark used some white face paint (MAC White Face Paint).
Step Six.
Use a brow pencil or marker to draw on the whiskers. Clark used MAC Penultimate Brow Marker. A brow marker is a better choice than an eyeliner, because it doesn’t have as much glide as a typical pencil.
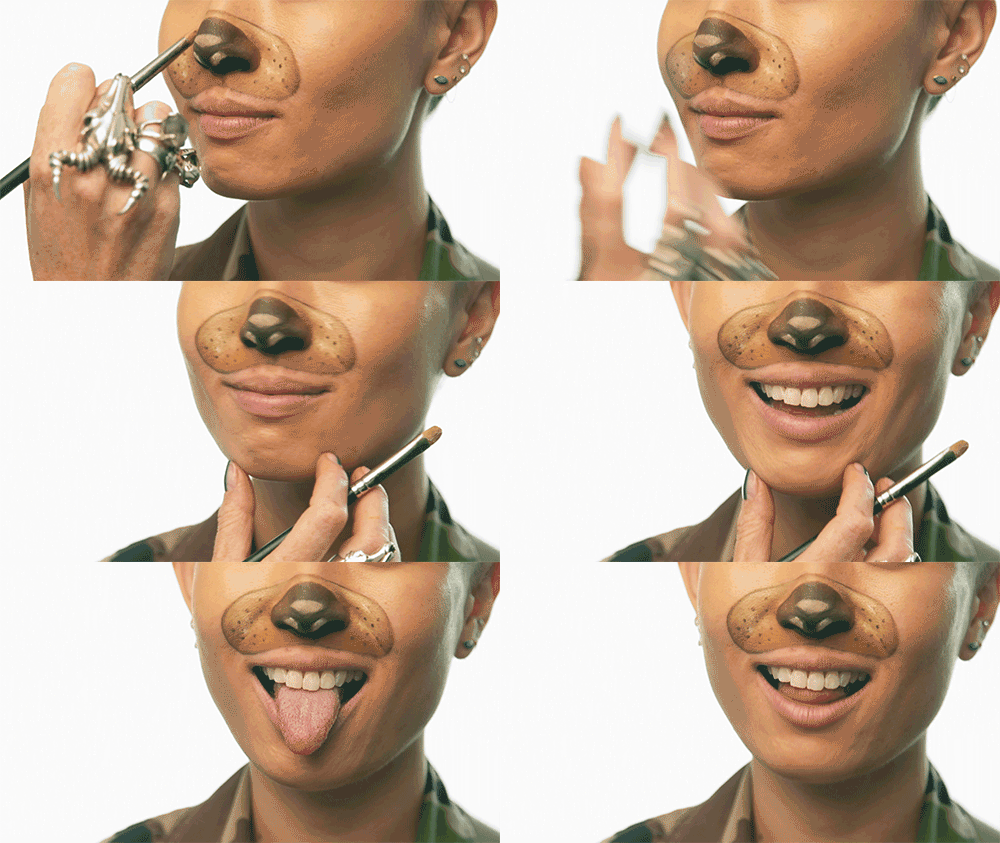
The finished product.


