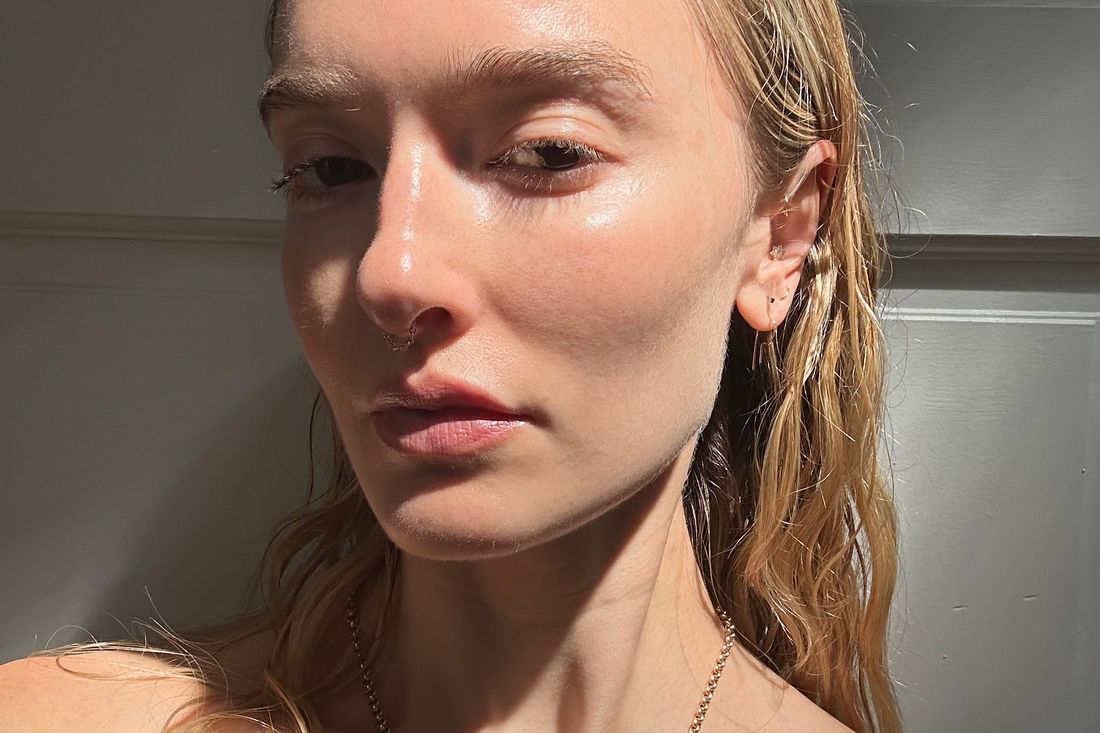
Is there any beauty fanatic on this earth who doesn’t have a face roller stashed somewhere in their home? We’ve all been told that simply applying products to your face is not enough to coax those cheekbones out of hiding. For a truly sculpted face that looks as if you’ve never even glanced at a dirty martini or a plate of greasy takeout, a face roller is a must. But to get the most out of your handy tool, there are a few tips and tricks to consider in order to maximize the effects — and achieve cheekbones that would make even the industry’s top supermodels weep.
What Are the Benefits of Using a Roller Tool?
The laundry list of skin benefits from using a face roller makes it almost too obvious to finally invest in a tool, like the Revlon Skin Reviving Roller (which also happens to retail for under $15, just saying). “A face roller gently massages the skin, causing stimulated blood flow,” explains Face Gym founder Inge Theron. “This increased circulation increases oxygen to skin cells and aids in lymph drainage, resulting in brighter, firmer, radiant skin, increased hydration, plumped fine lines, improved texture/tone, reduced puffiness, and even cleared sinuses for those who may experience seasonal allergies.”
As someone who would like each and every one of those benefits, I set out to incorporate a roller more diligently into my skin-care routine. But I had to know — were there any expert tips to maximize my results?
How Do You Use a Face Roller Like a Professional?
As with any beauty device, you can’t expect to see significant improvement in your skin if you don’t commit to using a face roller consistently. I’m fairly blasé with my skin-care tools, but I promised myself to incorporate a roller into my routine at least four to five times per week. I also stored the roller in my fridge (not the freezer!) to help increase the depuffing benefits. “Cold temperatures constrict blood vessels to remove redness and ease inflammation,” Theron says. Then it was all about refining my technique.
After cleansing my skin in the morning, when my face is most prone to puffiness, I held off on completely drying my skin to allow for a bit of extra slip with the tool. Then, Theron suggested using the roller in an upward and outward motion to contour and sculpt my complexion. The motion felt fairly fool-proof, and I spent about five minutes total rolling out each section of my face, starting with the cheeks, then my forehead, and along my jaw using gentle pressure — no need to tug or pull. If my skin started to feel like it dried out, I’d add in a few drops of face oil, like Le Prunier Plum Beauty Oil, for some added slip.
“You cannot forget the neck,” Theron adds. “For the neck, you want to roll outward and upward. Post-rolling, gently use the palms of your hands [to flush] toxins down the neck into the collarbone area where larger lymph vessels are located.” This is the step that felt like it made the most difference. I relished draining all that static lymphatic fluid out of my face and neck, leaving behind only my increasingly sculpted cheekbones and jawline. To finish, I patted my face dry and finished up my regimen of serums, moisturizer, and SPF.
Did I see a huge difference in my face after the first few days? Only slightly, but once I reached the two week mark, my consistency really started to pay off. My cheekbones looked more prominent and any extra puffiness around my eyes and jawline was nowhere to be found. With such an easy technique, the extra five minutes flew by, and the results were well worth adding yet another step to my skin-care routine. Consider me a face roller convert for the foreseeable future.
This advertising content was produced in collaboration between Vox Creative and our sponsor, without involvement from Vox Media editorial staff.
